The 49 and Market used: https://www.49andmarket.com/shop/
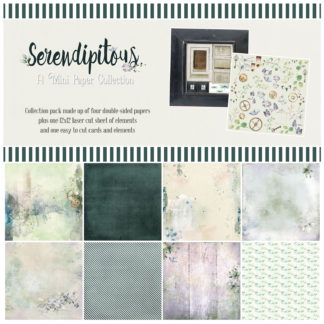
Serendipitous 12 x 12 Mini Collection

Laser Cuts
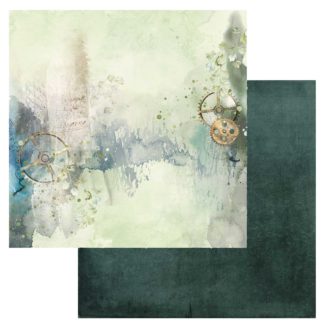
Rain Storm
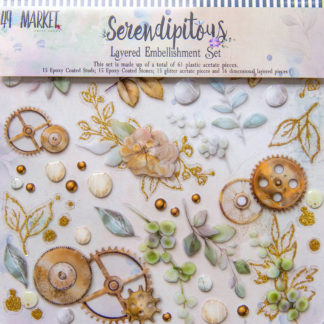
Layered Embellishments
Laser Cuts
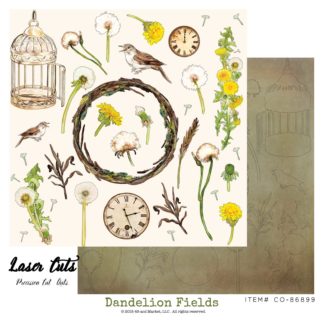
Dandelion Fields
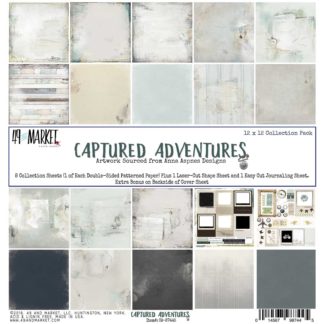
Captured Adventures
Archival Board

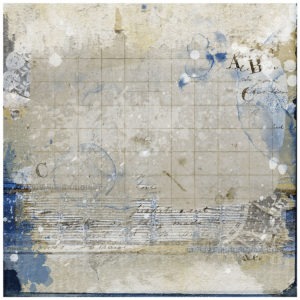
Timeless

Memory

Never Stop Exploring
Never Stop Exploring
Textures
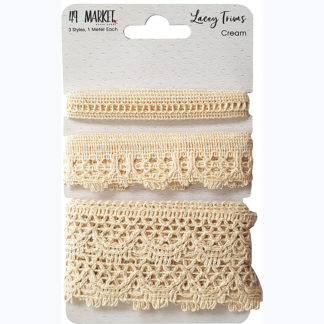
Lacey Trim-Cream

Burlap Net Ribbon Roll
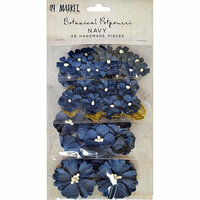
Flowers
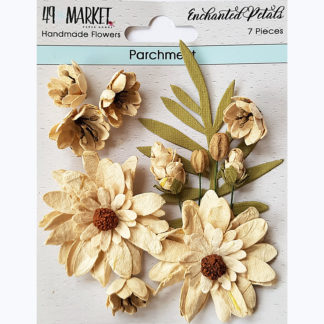
Enchanted Petals-Parchment
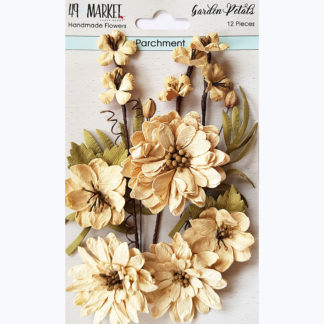
Garden Petals-Parchment

Botanical Blends-Marina

Botanical Potpourri-Marina
Botanical Blends-Marina
Botanical Potpourri-Marina
Dusty Attic used: https://dustyattic.com.au/

Chains

Blueprint WordPack

Number Panel
Other Elements used: TH Distress Stain-Vintage Photo & Walnut, Prima Wax-Old Denim & Vintage Silk, VersaMark Water Mark Stamp Pad, Ranger Embossing Powder Frosted Crystal, Black Ink Pad, Prills, Corrugated Paper......Here are a few close ups......
Chains
Blueprint WordPack
Number Panel
Other Elements used: TH Distress Stain-Vintage Photo & Walnut, Prima Wax-Old Denim & Vintage Silk, VersaMark Water Mark Stamp Pad, Ranger Embossing Powder Frosted Crystal, Black Ink Pad, Prills, Corrugated Paper......Here are a few close ups......


Thank you so much for taking the time to look.......Rachelle