Hello here is a LO I did, using the Beautiful Vintage Autumn Basics Collection, from Maja Design....
I took these photo's of Baby Kaylie, in my garden.....
From the Vintage Autumn Basics I used: No.IV,No.III-bs,No.V,No.IX,No.IX-bs,No.X,No.X-bs,No.XVII,& some of the BS's of the labels.
The Dusty Attic Chipboard used:
Elegant Frames DA0869
Lace Boarder #1 DA0843
mini words #1 DA0386
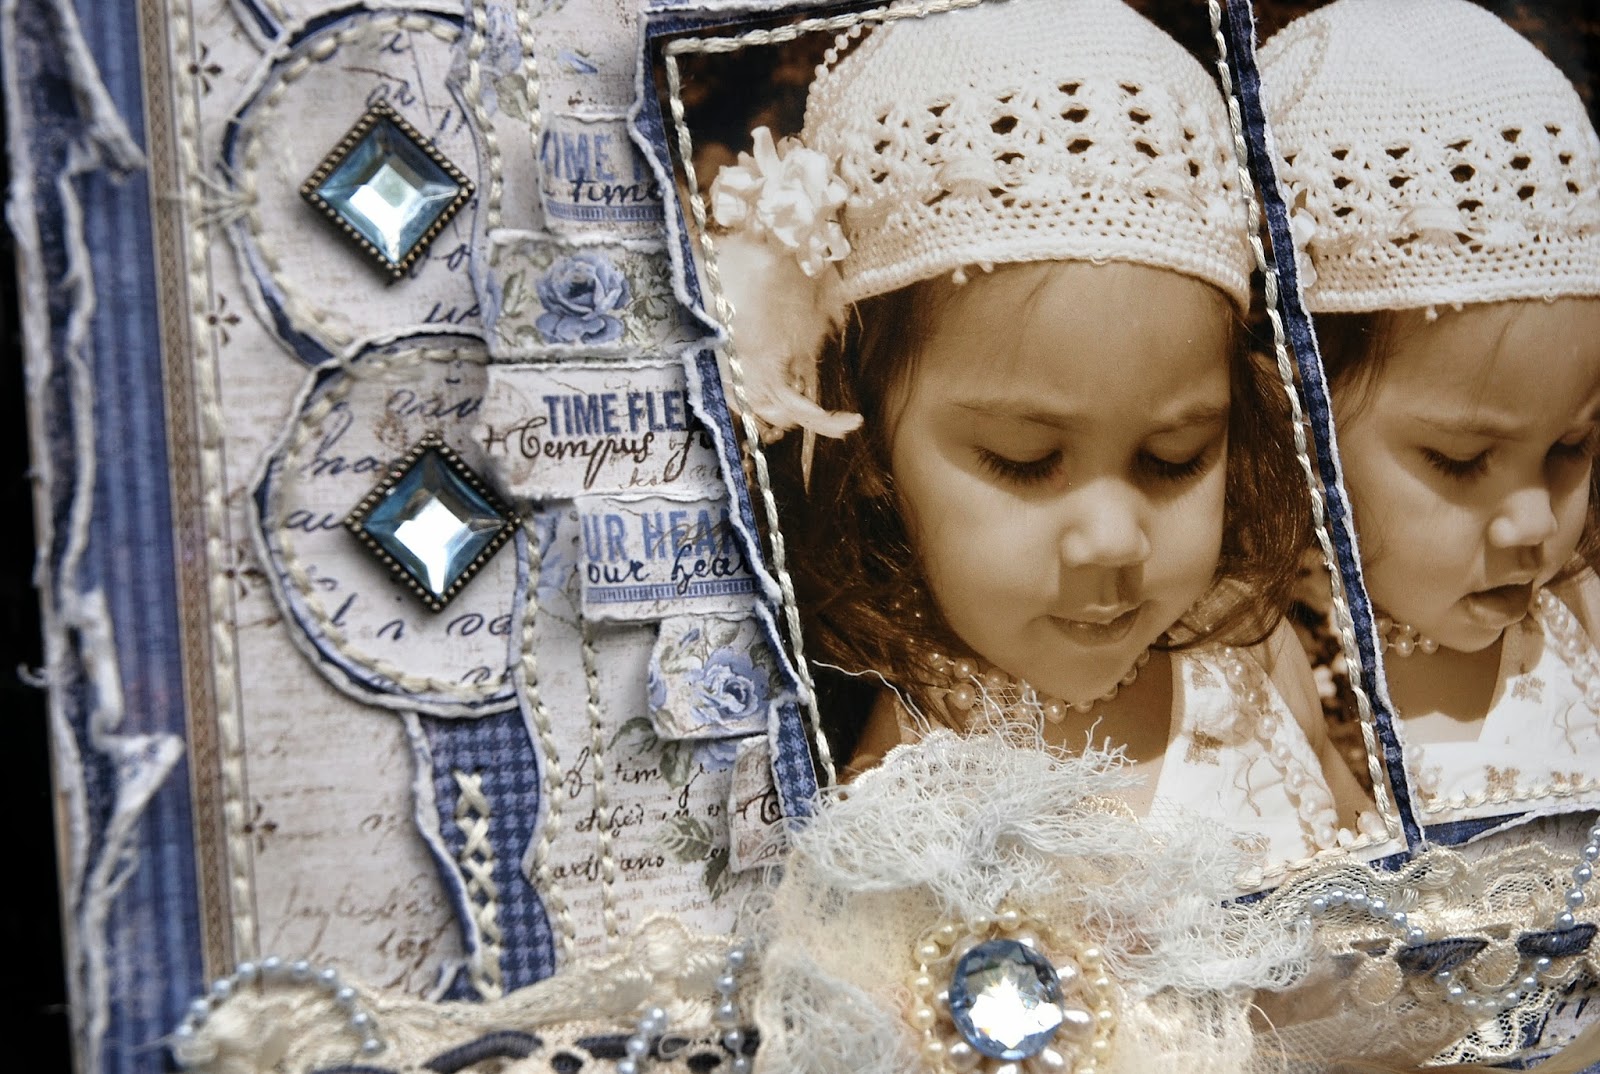
Here are some closeups of detail....
I first scanned & printed the Lace Boarder on plain paper. I then painted the lace boarder with oyster LuminArte. I used a non permanent adhesive,then glued the scanned paper to th BS of the Maja paper I was working with. I then cut out the pieces & glued them onto the chipboard. My next step was to glue a thin hemp string onto the outside edges,then I applied a thin coat of crackle. I punched out the little circles using
a eyelet punch,then glued them onto the boarder,then put a drop of liquid accents onto the circles. I used the BS of one of the labels,inked the edges & glued that onto the chipboard boarder.My final step was to weave the thin hemp string through the top of the boarder.
I made the headband for Kaylie,took my photo's, then used it on the LO...
Shows some of my distressed,stitched layers & some punch work....
I did the same treatment on the elegent frame as I did on the lace boarder.The smaller heart is was a excess piece, that I had cut of the boader....
Here I used the Tim Holtz doily die....
More closeups of the lace boarder & headband....
This is how I made the headband, I made it even before I received the Vintage Autumn Basics Collection.I got a sneak peak & printed it,made the headband,took the photos,then received the Collection,hoping the colors would be right. I went through my scrap supplies,finding feathers,crocheted lace & doily's,pearls,died some cheesecloth then went to work....
I first stitched these two pieces of lace together,leaving spaces so that I could weave in the pearls....
Then I weaved in the pearls......
I then used a glue gun I glued on the layers of cheesecloth & doily's....
I then embellished the crocheted flower,using feathers,&bling & more pearls..
Here is my sneak peek & headband....
Thank you so much for taking the time to look....Rachelle


.png)


.png)


.png)


.png)