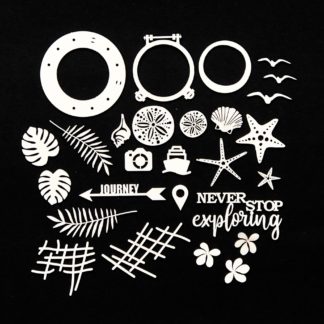
The Dusty Attic used: https://dustyattic.com.au/

Fancy Frame #7

Squiggly Frame #5

Wildflower #3

Bird Cage #5

Flutterbies #3

Mini Marrakesh Trellis

Hashtag Sayings #2

Dress my Craft-White Sunshine Sequins
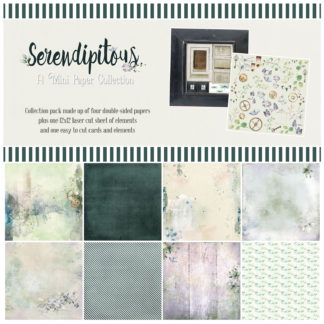
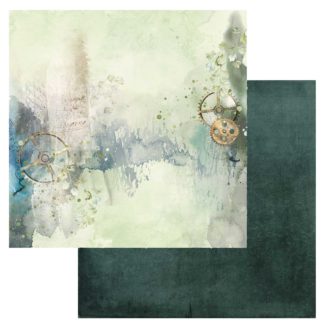
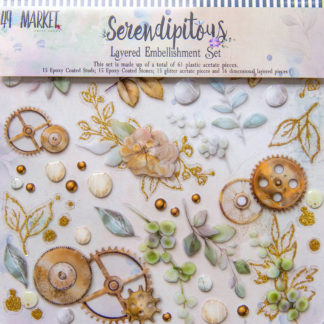
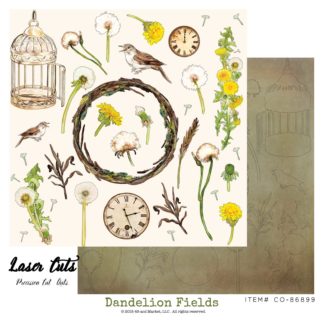
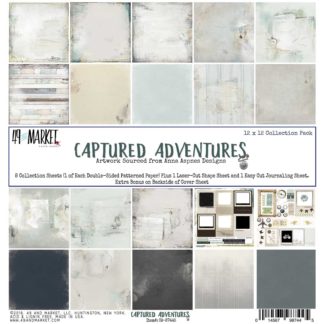
The 49 and Market used: https://www.49andmarket.com/shop/
Irrevocable Beauty

Efflorescent
Flowers

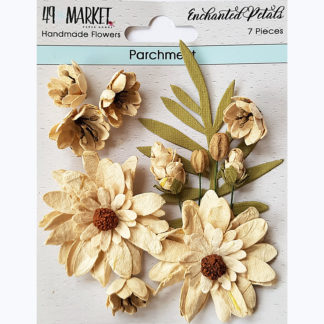
Enchanted Petals-Twilight
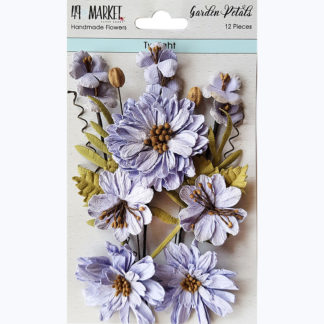
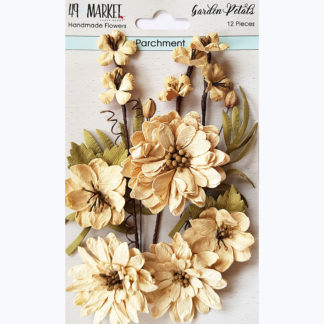
Garden Petals-Twilight

Daisy Stems-Lavender
Wishing Bubbles
Grape Soda
Textures

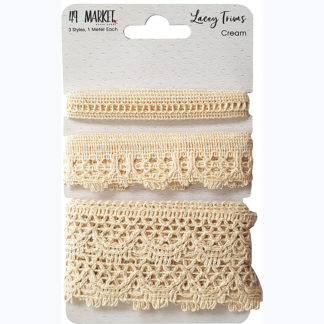
Lace Trim
Other Elements used: Clear Gesso, Clear Crackle, Prima Metallique-Lavender & Ice Queen, Liquid Pearls, Prills...Here are a few close ups.....
Dress my Craft-White Sunshine Sequins
The 49 and Market used: https://www.49andmarket.com/shop/
Irrevocable Beauty
Efflorescent
Flowers
Enchanted Petals-Twilight
Garden Petals-Twilight
Daisy Stems-Lavender
Wishing Bubbles
Grape Soda
Textures
Lace Trim
Other Elements used: Clear Gesso, Clear Crackle, Prima Metallique-Lavender & Ice Queen, Liquid Pearls, Prills...Here are a few close ups.....


Thnk you so much for taking the time to look....Rachelle