Wednesday, July 9, 2014

Watching you Grow

Hello,today I am up on the Maja Design Blog with this LO.using the Coffee in the Arbour Collection...
Coffe-in-the-Arbour-P 
http://majadesign.nu/products/coffee-in-the-arbour/ 
I used:
White daisies 
white daisies
White daisies-ds 
white daisies-BS
Blueberry cupcake 
blueberry cupcake
Lemon meringue pie-bs 
lemon meringue pie-BS
The Dusty Attic used:http://www.dustyattic.com.au/products/index.php
Foliage
Foliage (DA0506)
VIne Corner #2 
Vine Corner #2 (DA0897)

Bookman ABC Set
 bookman ABC (DA0666)
mini ABC set lower
mini ABC set lower
 Teeny Tiny ABC set
 teeny tiny ABC set (DA0983)
LittleScrapShop https://www.etsy.com/ca/listing/82413915/sepia-glitter-glass-butterflies-for?ref=shop_home_active_22
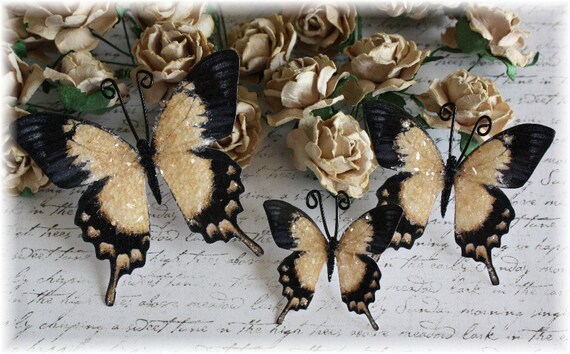
Sepia Glitter Glass Butterflies for Scrapbooking, Cardmaking, Tag Art, Mini Album, Wedding 
Sepia Glitter Glass Butterflies 

Here are some closeups of detail....
I just love this photo of Chris Lim's, adorable little Cass....
I did my usual,distressed,hand stitched layers. I also did some punch work,tearing & stencil work....
I made the daisy's using coffee filters,& a MFT die cut. I used DA dots for the centers,painted them yellow,then applied glossy accents & micro beads...
This is where I did the stencil work using the crafters workshop stencil "Art is"(6x6). I used Viva (champain) modelling cream. On the Alpha I used picket fence crackle,once the crackle dried I rubbed in brown chalk & inked the edges....


I dipped the leaves in water,then separated the chipboard,I then used a heat gun to dry the leaves,it helps to make them curl up. My next step was to paint the leaves,using green paint & once the paint dried I applied a coat of rock candy crackle. Once the crackle dried I rubbed in some white paint,using my finger (this brings out the cracks & tones down the green)….

A close up of the beautiful Butterfly....
Thank you so much for taking the time to look....Rachelle


Tuesday, July 1, 2014

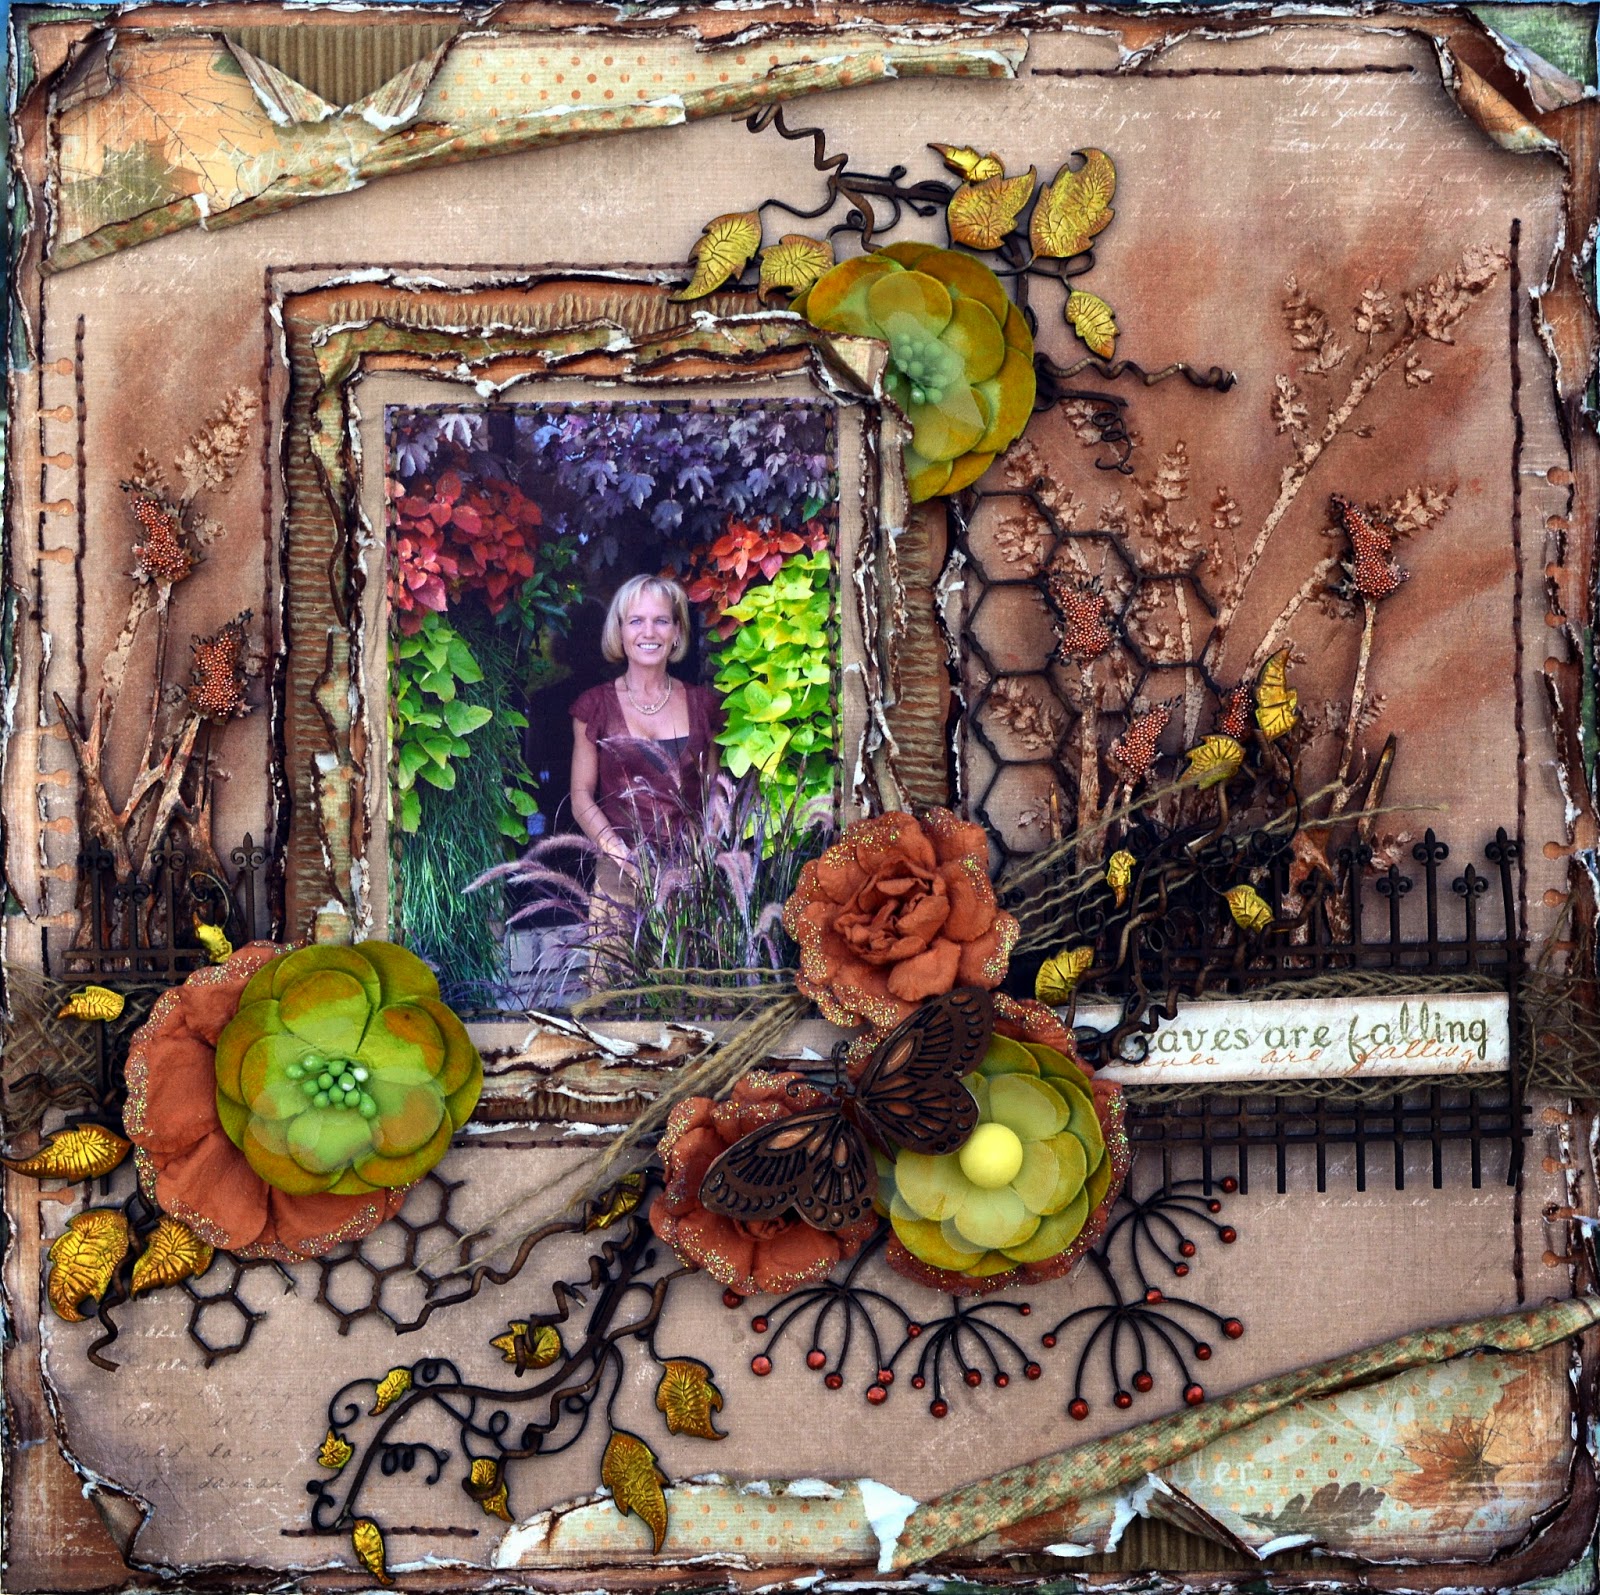
Leaves are Falling ***Dusty Attic Sketch July**

Hello,here is my take on Nadia's,beautiful sketch for this month......


The Dusty Attic Chipboard used:
Wrought Iron Fence border
Wrought Iron Fence Border (DA0176)
Chicken Wire Panel
Chicken Wire Pane (DA0177)
Flower Buds
Flower Buds (DA0849)
Grass Cluster #1
Grass Cluster #1 (DA0660)
Vine Border
Vine Border (DA0459)
mini Chicken Wire
Mini Chicken Wire (DA0788)
Fluutterbies #3 (DA0766)

The Maja Design used:
Walking in the Forest

When leaves are falling

When leaves are falling_BS

Mountain ash-BS

Die cut letters-BS
& a BS of a label

Here are some closeups of detail:
I stained all the chipboard with walnut stain, on the buds I used chestnut liquid pearls....
I painted the leaves with TH distress paint,& once that dried I applied a thick coat of crackle. I let the crackle dry then applied lime twist TA & once that dried I rubbed in some rusty chalk..
Shows distressed layers that I had inked the edges with walnut stain. I also did some stencil work,using a Kaiser craft stencil & Viva modeling cream. Once the cream dried I rubbed in some chalk.....

The flowers used are from Prima & Bobunny....
Burlap used in my layers.....
I used micro beads on the heads of the grass....


I can't wait until I see what you come up with,with this months sketch....Rachelle


Saturday, June 28, 2014

Create,Inspire ****Dusty Attic***

Hello,here is a canvas I made, using some of Dusty Attic's amazing chipboard pieces......

The Dusty Attic Chipboard used:
Seahorse #1
Seahorse#1 (DA0047)
Shells 6pk
Shells 6 pk:(DA0048)
Vintage Frame
Vintage Frame (DA0254)
Fancy Trim #3
Fancy Trim #3 (DA0469)
Flourish #8
Flourish #8 (DA0702)
Fish Net Panel
Fish Net Panel (DA0654)
Foliage
Foliage (DA0506)
mini Words #3
mini words #3 (DA0477)

The Maja Design used:

Ska vi ta en fika
From the Fika Collection I used: Soders hojder-BS, Mandelka-BS,
Autumn-Basics-P
From the Vintage Autumn Basics I used:No.VIII-BS, No.XII-BS, No XIV-BS,No.XI, &No.XV
Here are some closeups of detail:
A close up showing,the seahorse (I did a simple tut at the end of this post). I cut holes in the paper,distressed the edges,then glued the fish net in between 2 pieces of paper. I then hand stitched,the piece together. Once I completed my hand stitching I weaved the tread through the stitches,then added some beads.I painted on some Viva Modeling Cream (Champagne) onto the fish net & glued on some more seed beads...
I painted the frame,trim,flourish,foliage,& mini words with a coat of clear rock candy crackle & once that dried I applied a coat of LuminArte' Stargazer....I used the Stargazer on all the chipboard,but on the Seahorse I applied the LuminArte' then the crackle,I am amazed how the color changed so much, by doing the opposite!! 
The netting used is from some old Halloween decorations....
Shows distressed layers of paper & layers of chipboard....
The mauve flowers are prima & the blue are Kaiser Craft...


This is how I achieved the Seahorse....
I used the Seahorse & a seashell. I drew on the seashell....

I then painted both pieces with LuminArte (Stargazer)
Once the LuminArte dried I applied liquid pearls. I used platinum & lavender lace....
I then applied a thick coat of  clear rock candy crackle.I let that dry,then sprayed it with 2 coats of acrylic sealer,because what ever is in the LuminArte,makes the crackle want to lift,but also gave the Seahorse a scaley look,that I liked.so you really need to spray on a sealer,or you will loose all the crackle.I then inked the edges,&added bling & pearls. This is the first one I did for another project,that I will be sharing soon. I like this one better,but I ran out of the crystals I used on this one.
Thank you so much for taking the time to look.....Rachelle