Thursday, August 1, 2019

A Captured Moment ****49 and Market****

Hello, today I would like to share with you a LO I did using 49 and Market's Mini Collection-Old School, Laser Cuts, Archival Board & Flowers......

The 49 and Market used: https://www.49andmarket.com/shop/
Old School
Old School - 12x12 Collection Pack
Laser Cut Sheet
Old School - High School
High School
Old School - School Days
School Days
Ethereal
Ethereal - Flora
Flora-BS
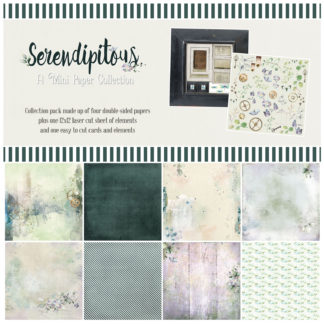
Serendipitous - 12x12 Collection Pack
Serendipitous Laser Cut Sheet
VRL-88091 Frame Set No 02
Laser Cut Shapes Frame Set # 2
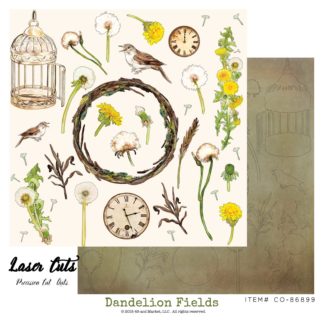
CO-86899-Dandelion-Fields-Laser-Cut-Out
Dandelion Fields Laser Cut Sheet
Archival Board
AB-88701 Memory Captured Archival Chipboard
Memory
AB-86769 6x6 Archival Board - Happy Moments (White)
Happy Moments
AB-86721 6x6 Archival Board - Timeless (Black)
Timeless
Wishing Bubbles
VRP-88312-Wishing-Bubbles-Soda-Pop
Soda Pop
Flowers
Country Blooms - Ginger
Country Blooms-Ginger
Wildflowers - Ginger
Wildflowers-Ginger
Flower Mini Series 01 - Ginger
Mini Series-Ginger
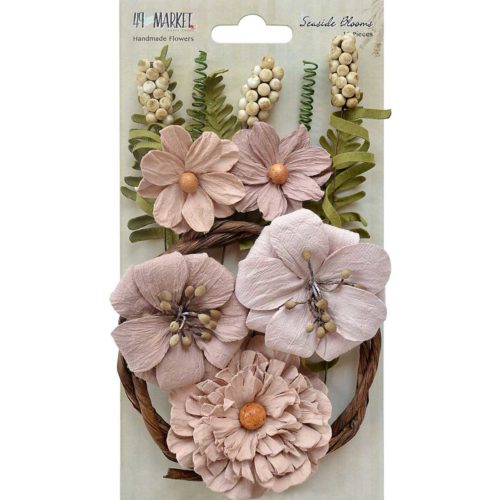
SB-86066 Seaside Blooms - Sandcastle
Seaside Blooms-Sandcastle
BP-87049-Botanical-Potpourri-Hazelnut
Botanical Potpourri-Hazelnut
The Dusty Attic used: https://dustyattic.com.au/
Distressed Filmstrip
Skeleton Clock Face 6x6
Skeleton Clock Face
Notebook Edge Border
Chains - 4pc
Chains
Fans Mixed
Fans Mixed
Cogs 1
Cogs
Mini Captions #11
Mini Captions #11
Other Elements used: Black Corrugated Paper, Clear Gesso, Tim Holtz Distress Stain- Walnut Stain, Tim Holtz Alcohol Ink-Rust, LuminArt-Silk-Jasper Red & Golden Monarch, Black Ink Pad,Sequins, Pearls, Silk Ribbon.....Here are some close ups....

For the background I used High School & School Days. I ripped School Days, inked the edges using a black ink pad, glued the pieces onto High School & glued black corrugated paper & DA note book edge into the layers. I dyed Seaside Blooms & Potpourri with the rust stain and changed the flower centers with using copper sequins & pearls. In the clusters I used the flowers listed above, Laser Cuts, Wishing Bubbles, Chipboard pieces & Ribbon....

I matted the photo with Flora-BS then framed it with the frame that is in the Laser Frame cut sheet # 2 & the Circle Chain from Archival Board-Memory then added the Skeleton Clock & Chipboard Pieces under the photo...... Here are a few more close ups....


Thank you so much for taking the time to look.....Rachelle

The Perfect Sunset ****Dusty Attic Mood Board for August*****

Hello today I would like to share with you a LO I did using Dusty Attic's Beautiful Mood Board for August and lots of Dusty's amazing chipboard pieces...….

With a chance of the prize, all you have to do is link your entry to the right hand side of the blog with your name and country for your chance to win one of two $50 vouchers, you can use the mood board to sway your creation, the only "rule" is that there is Dusty Attic Chipboard on your entry...….
The Dusty Attic used: https://dustyattic.com.au/
Chain Circles
Chain Circles
Chain Rectangles
Chain Rectangles
Nautical Frames
Nautical Frames
Compass Rose
Compass Rose
Fish Net Panel Large
Fish Net Panel
Frangipanis
Frangipanis
mini Shells
Mini Shells
Sand Dollars
Sand Dollars
Seagrass small
Seagrass Small
Seagulls
Seagulls
Shells 6pk
Shells
Starfish #2
Starfish #2
Tropical Foliage #1 small
Tropical Foliage Small
mini Ships Wheels
Mini Ship Wheels
Lizards 4pk
Lizards
Fancy Trim #7
Fancy Trim #7
Ginkgo Biloba
Ginkgo Biloba 
Wordpl@y #7
Wordpl@y #7
Corrugated Card
Corrugated Card
The 49 and Market used: https://www.49andmarket.com/
Tattered Garden
TG-87285-Tattered-Crackles-A
Tattered Crackles
Other Elements used: Clear Gesso, Clear Crackle Paint, Dreamweaver Pearlescent Embossing Paste, Prima Wax-Peacock, Blue Lagoon & Firebird, Tim Holtz Stain-Walnut, Brown Ink Pad, cloth netting, Silk Ribbon, Beads, Micro Beads, Bling, Prills….Here are some close ups....
I primed the chipboard pieces with clear gesso, the applied a thick coat of the clear crackle on to some of the areas. Once the crackle dried I played with the waxes listed above. I pressed in some Dreamweaver Pearlescent Embossing paste on the back side of the starfish & sand dollars & glued on beads, micro beads, prills, & blind onto some of the pieces. Here are a few more close ups.....


Thank you so much for taking the time to look & I am looking forward to see what you come up with this months challenge.........Rachelle